Code Connection is a free tool that was created to allow users to connect a coding platform, as ScratchX, Tynker or MakeCode, with Minecraft Education Edition. Recently it became compatible with Minecraft Windows 10 Edition, too, and it was added to Microsoft Store.
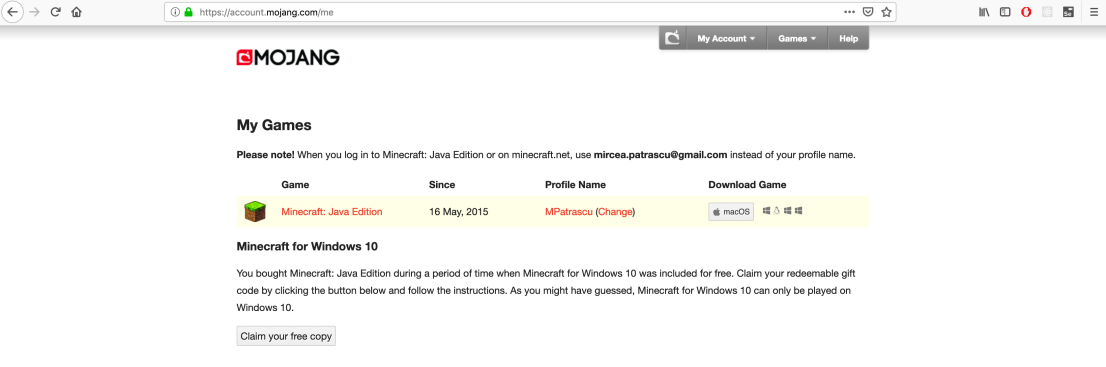
While Minecraft Education Edition is reserved for educational institutions and has rather strict licensing rules, the Windows 10 Edition is available to everyone (obviously, as its name implies, you need a computer running Windows 10) and can be obtained for free by anyone who has a license for the Java Edition, bought before October 2018. For this, you have to go to https://account.mojang.com/ and on the main page, under My Games, you will find a button to claim your free copy.
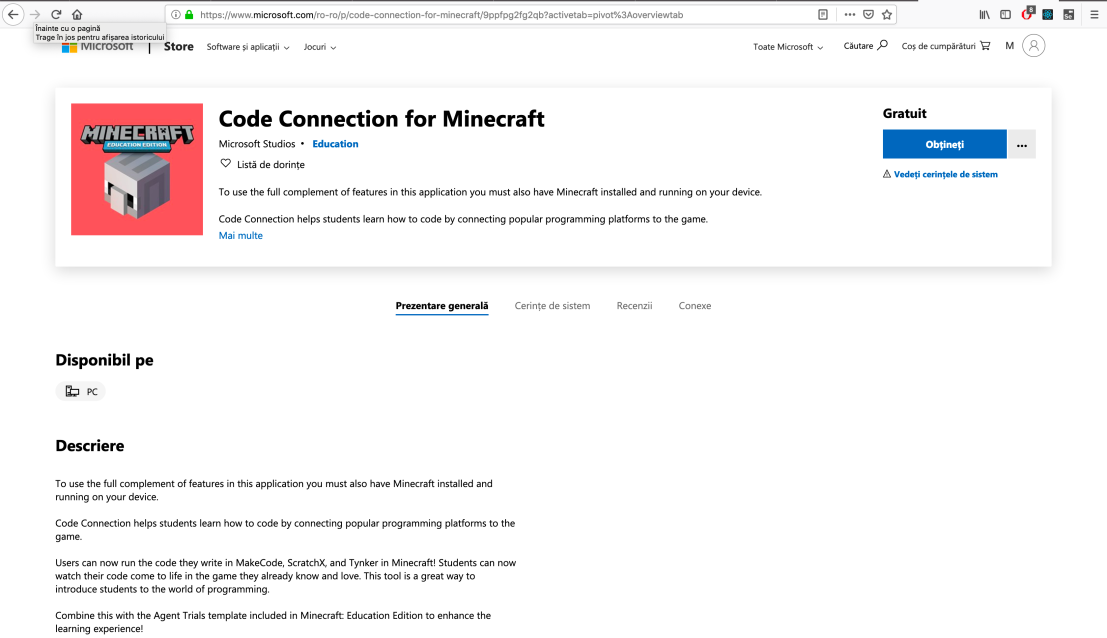
Follow the instructions to install Minecraft Windows 10 Edition, then go to Microsoft Store to install Code Connection.
Launch Minecraft, create a new world or load one already created, then launch Code Connection. You will see a window asking you to run a command in Minecraft:
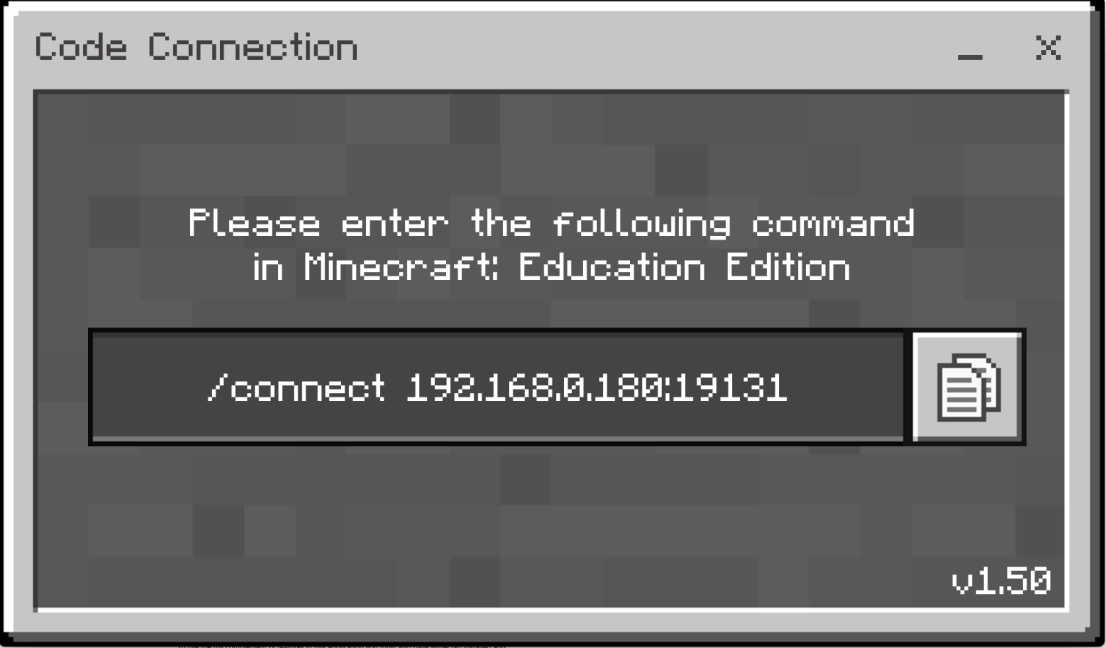
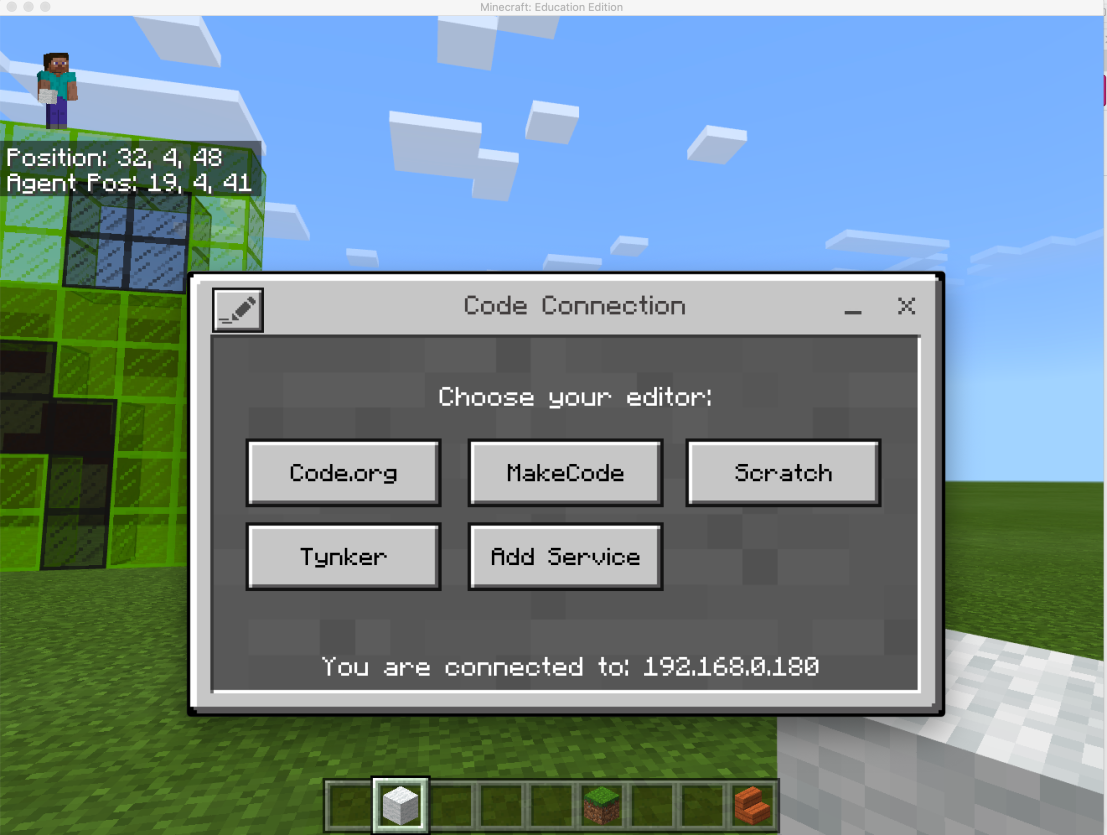
Copy the command to the chat bar in Minecraft, press Enter, and Code Connection screen will change to confirm the connection and will present you the available coding tools options:
You can find more information about installing and using Code Connection at https://minecrafteducation.zendesk.com/hc/en-us/articles/360001429388-Get-Started-With-Code-Connection
I used Code Connection with Scratch and, after playing with it for a while, I decided to modify the Scratch PixelArt editor, created for my Scratch – Minecraft connector (ScratchMC), to make it run in this new configuration. The video below was recorded on macOS, so I had to use Minecraft EE, but everything works exactly the same with Windows 10 Edition (I tried it myself on another computer).
I have now a quick solution to create simple images with this basic editor and transfer them to Minecraft. The first version of the ScratchX project (used in the above video) can be downloaded from github.
Please note that once you click on Steve to start building in Minecraft, you should not move your character, as the position of the coloured blocks is relative to player’s position. If you choose a higher resolution at start, you should activate the Turbo Mode in ScratchX (under Edit menu). Also, if you run the Scratch program in fullscreen, you can keep the mouse button pressed to draw multiple pixels of same colour.
By modifying the program to draw (or to build?) the images horizontally in Minecraft, you can make them appear on maps and then use them as decorations in game.

Hi, Mircea. It worked perfectly for me. Thanks for the tutorial. 🙂